Configure your Technicolour TG589/TG588 routers
Please note: We advise running through this configuration using a Windows-based PC/laptop with an Ethernet connection to the router. If you are using any other operating system or connecting via wireless then settings may not save correctly.
If you got a block of public IP addresses from Daisy then they will need to be configured on your router.
How to configure the router
Open a web browser and enter 192.168.1.1 in the address bar.
![]()
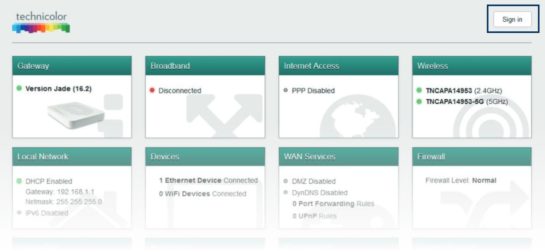
This should then bring up the Technicolor page, you will need to click “Sign in” in the top right.

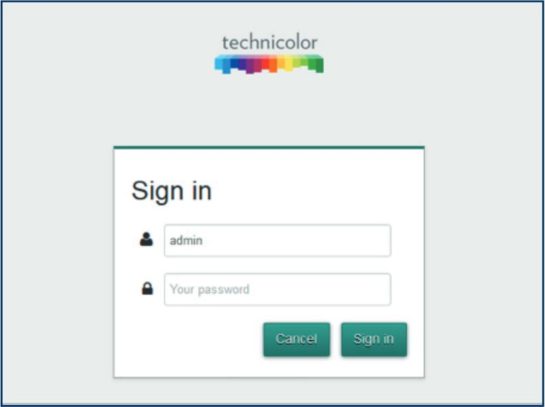
You should then see the following sign in screen below.
You will need to login using the below details.
- Username: admin
- Password: serial number of the router (this is on the bottom of the router and starts with CP)

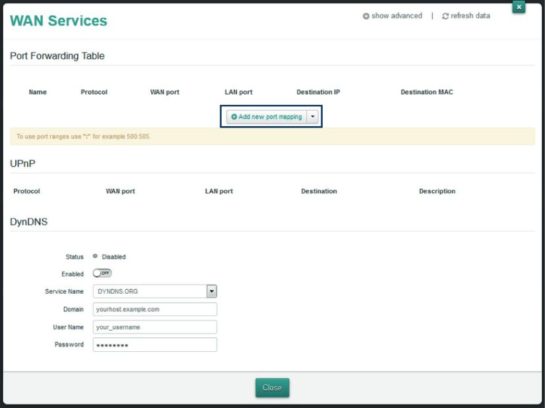
Once logged in, click into the ‘WAN Services’ box to bring up the below screen. To add a port forwarding rule click ‘Add new port mapping’

- Name: Anything to describe the port forwarding rule
- Protocol: This is either going to be TCP, UDP, TCP/UDP
- WAN Port: The WAN facing port you are forwarding from (ranges can be added by separating the numbers with a colon, e.g. 5000:6000)
- LAN Port: The LAN facing port you are forwarding to (ranges can be added by separating the numbers with a colon, e.g. 5000:6000)
- Destination IP: The IP of the device you are forwarding traffic to.
Once you have added all the information click the little ‘add’ button on the right.

